안녕하세요! 소진임니당
오늘은 Code base로 TableView를 만들어보도록 하겠습니다 : D
깔끔한 코드를 위해 SnapKit 라이브러리를 사용했습니다!
다른 방법으로 TableView 만들어보려면!
[UI] Story board로 Table View 만들기
미리 보기
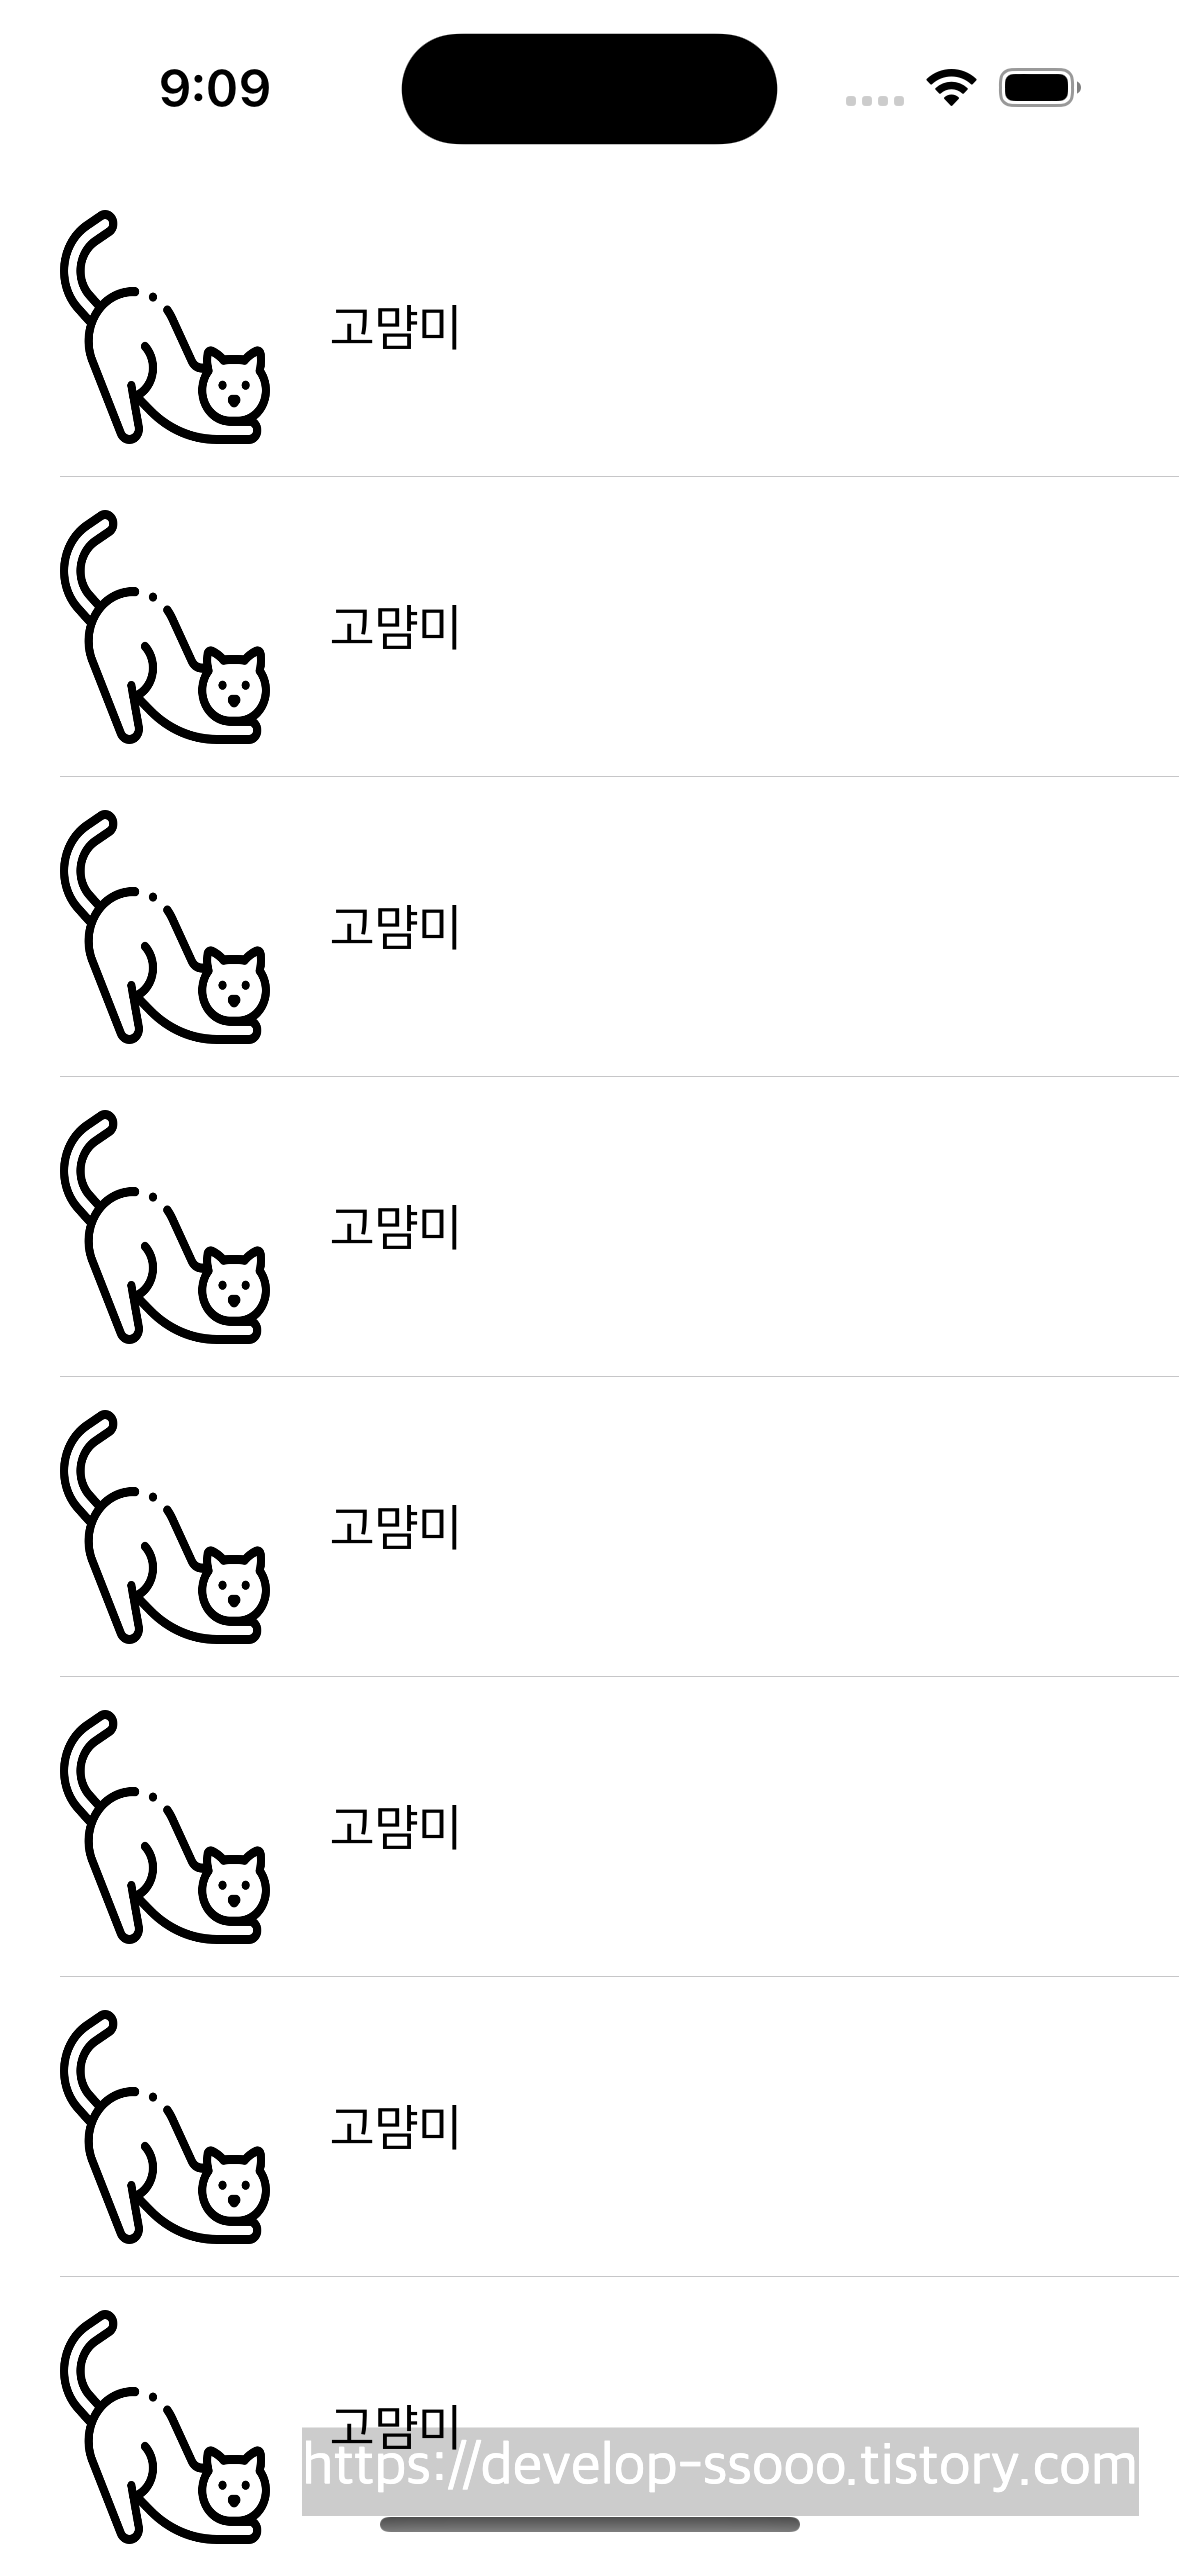
오늘 위와 같은 Table View를 만들어볼꺼에요!
어렵지 않으니 천천히 따라오시면 됩니다 ㅎㅎㅎㅎ
사전 설정
일단, code base로 UI를 구성하려면
Storyboard도 없애야하고 코드를 몇 줄 적는등..
사전 설정을 합니다!
해당 부분은 아래 포스팅에서 자세히 다루니 참고해주세요!!
SnapKit이 어려운 분들도 아래 쪽에 설명 되어있으니 한 번 읽고 오시면 좋을 것 같습니당
[UI] Code base로 UI 구현 (StoryBoard를 사용하지 않고 UI 구현하기)
[iOS] Code base로 UI 구현 (StoryBoard를 사용하지 않고 UI 구현하기)
안녕하세요! 소진입니다 ㅎㅎ 그동안 Story Board로 UI 구현을 많이했었는데, 코드만으로도 UI를 구현하는 방법이 있다고 해서 정리해보려구요! 여러가지 방법으로 UI 구현하는 방법을 알면 더 좋은
develop-ssooo.tistory.com
라이브러리 import 하기
snapKit 라이브러리를 사용하기로 했으니,
pod 파일에 아래와 같은 문장을 추가해주도록 하겠습니다 :)
pod 'SnapKit', '~> 5.6.0'
pod 파일 사용법을 모르거나 다른 방법도 알고 싶다면?
[iOS] Cocoapod vs Carthage vs SPM
를 참고해주세요ㅎㅎ
Cell 구성하기
저는 View Controller파일에 코드를 다 작성하지 않고
CustomCell 파일을 따로 만들어 줬습니다!
class CustomCell: UITableViewCell {
Cell 구성을 하기위해,
이렇게 UITableViewCell을 클래스를 상속받아줍니다
저희가 저번에 스토리 보드로 table view 만들때
cell이름(identifier)을 지정해주었던거 기억나시나요?
코드로 작성할때도 똑같이 이름을 만들어줘야합니다!
static let identifier = "CustomCell"
이름은 자유롭게 지어도 됩니다ㅎㅎ
아까 미리보기에서 본 Cell을 보기 좋은 이미지로 데려왔습니다!
저희는 Cell에 image랑 label을 추가해야겠네요?
// image 생성
let img : UIImageView = {
    let imgView = UIImageView()
    imgView.image = UIImage(named: "cat")

    return imgView
}()

// label 생성
let label : UILabel = {
    let label = UILabel()
    label.text = "고먐미"
    label.font = .systemFont(ofSize: 17)
    label.textColor = UIColor.black

    return label
}()
위 코드처럼 각자 원하는 이미지를 지정도 해주고,
라벨 text 설정도 해줍시다! (굵기, 폰트, 사이즈 등..)
override init(style: UITableViewCell.CellStyle, reuseIdentifier: String?) {
    super.init(style: style, reuseIdentifier: reuseIdentifier)

    setup()
    setConstraint()
}

required init?(coder: NSCoder) {
    fatalError("init(coder:) has not been implemented")
}
갑자기 init이 왜 나오나 싶죠??
스토리 보드를 사용하면 인터페이스 빌더에서 자동으로 초기화를해주지만,
code로 작성하면 자동으로 초기화를 해주지 않기때문에
직접 초기화 코드(init)을 작성해주어야합니다
func setup() {
    addViews()
}

private func addViews() {
    contentView.addSubview(img)
    contentView.addSubview(label)
}

private func setConstraint() {

    img.snp.makeConstraints { (make) in
        make.top.equalTo(snp_topMargin)
        make.leading.equalTo(snp_leadingMargin)
        make.bottom.equalTo(snp.bottomMargin)
        make.height.equalTo(70)
        make.width.equalTo(70)
    }

    label.snp.makeConstraints { (make) in
        make.leading.equalTo(img.snp.trailing).offset(20)
        make.centerY.equalTo(img)
        make.trailing.equalTo(-5)
    }
}
init 코드 안에있는 setup() 함수와 setConstraint() 함수입니다
img와 label을 view에 추가해주고
위치를 설정해주는 코드입니다!
(저는 전에 만들었던 스토보드 layout을 참고했어요!)
이제 Cell을 다 만들었으니!
ViewController 파일로 가봅시당
Table View 만들기
ViewController 파일은
아래 코드처럼 UIViewController를 상속받습니다
class ViewController: UIViewController {
이제, table view를 구성해봅시다!
private let tableView: UITableView = {
    let tableView = UITableView()
    tableView.register(CustomCell.self, forCellReuseIdentifier: "CustomCell")
    return tableView
}()
다른 부분은 위에 짰던 코드랑 유사한데,
table view는 register 함수가 보이네요!
저희가 아까 cell 이름(identifier) 지정해 줬었죠??
그 부분을 등록해주는 코드에요!
즉,
"CustomCell이라는 identifier을 가진
CustomCell 클래스를 tableView에 등록해주세요"
라는 뜻을 가졌습니다 ㅎㅎ
override func viewDidLoad() {
    super.viewDidLoad()
    // Do any additional setup after loading the view.

    configure()
    addViews()
    setConstraint()

}

func configure() {
    tableView.backgroundColor = .white
    tableView.delegate = self
    tableView.dataSource = self
    tableView.rowHeight = 100
}


func addViews() {
    view.addSubview(tableView)
}

private func setConstraint() {

    tableView.snp.makeConstraints { (make) in
        make.edges.equalTo(self.view)
    }

}
이 부분은
configure() 함수에서
delegate와 dataSource를 구독하고
cell의 높이가 항상 100이도록 지정해주었습니다
setConstraint() 함수에서는 tableView의 위치를 지정해줍니다!
Delegate, DataSource 설정
마지막으로
아까 위에서 구독만해주고 코드 작성을 안 했었죠?
설정해주러 갑시당
extension ViewController : UITableViewDelegate, UITableViewDataSource {
    func tableView(_ tableView: UITableView, numberOfRowsInSection section: Int) -> Int {
        return 10
    }

    func tableView(_ tableView: UITableView, cellForRowAt indexPath: IndexPath) -> UITableViewCell {

        let cell = tableView.dequeueReusableCell(withIdentifier: CustomCell.identifier, for: indexPath) as! CustomCell
        return cell
    }
}
numberOfRowInSection은 보여질 Cell의 숫자를 말하는데,
저는 그냥 10개로 설정했습니다!
cellForRowAt은 보여질 Cell을 지정해주면됩니다.
실행해보면 완성!
고생하셨습니다!
다음에는 xib를 사용해서
tableView를 만들어보겠습니다 ㅎㅎ
전체 코드
https://github.com/sojin2/TIL/tree/master/iOS/UI/Coad_base/TableViewCode
'UI' 카테고리의 다른 글
| [UI] Semantic Button 이미지 오른쪽 끝으로 넣기! (버튼 내부 정렬) (0) | 2023.10.16 |
|---|---|
| [UI] UIView 원하는 모서리만 둥글게 만들기 (CornerRadius) (0) | 2023.09.05 |
| [UI] xib로 Table View 만들기 (2) | 2023.01.02 |
| [UI] Storyboard로 Table View 만들기 (0) | 2023.01.02 |


